
µMIC.200 – First Steps
In this article you will learn how to put the example projects on the MicroControl µMIC.200 control unit into operation.
Prerequisites
– Download the development environment and install it following the instructions in this manual.
– Connect the µMIC.200 control unit to your computer and set up a network connection
Load example projects
The example projects are in the file “Workspace” of the downloaded development environment.
Start Eclipse and select the file “Workspace” mentioned above as soon as the respective dialogue box of Eclipse opens. Now, the projects “Hello World” and “CANopen” appear in the Eclipse “Project Explorer”.
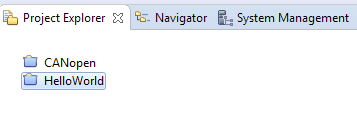
Projekt_Explorer
Compile and start project
By double clicking the project “Hello World” you can open it. The project contains the file “hello.c” which contains the source code of the example project. To compile the project you just have to click on the hammer symbol in the tool bar. Now, a console output appears at the bottom of the screen which shows you that compiling has been successful.
Before you start loading and executing the compiled programme, make sure that a connection to the µMIC.200 control unit has been established. To do so, just press the green “Connect” button at the top of the tool bar, on the right of the connection “uMIC.200″

uMIC_Connect
To be able to load the programme to the µMIC.200 and execute it, expand the green “Play” symbol in the tool bar and click the option “Run Configuration”. Select the existing configuration of the project and make sure that the µMIC.200 control unit is set as “Target System”. At the bottom of the window an error message may be displayed. Press “see more”, tick the respective box and then select “Remote…..”. Acknowledge with “OK” and press the button “Run”. Now, the programme is loaded to the control unit and executed automatically.
You should see LED3 and LED4 of the control unit flashing up one after the other. In addition, the console output is displayed at the bottom of the Eclipse window.
Generate your own project
To be able to generate your own project, follow these instructions.
You can create a new project via the push button “File → New → C-Project”. Give your project a name, select “Empy Makefile Project” and the compiler “Cross GCC”. Acknowledge with “Finish”.
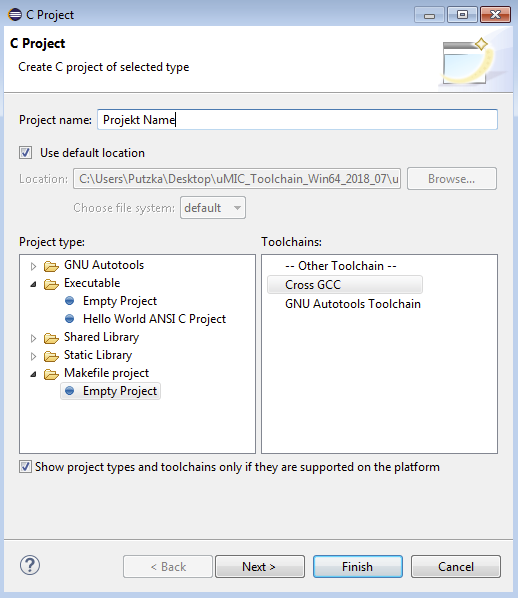
Neues Projekt
Open a new file view via the push button “Window → Show View → Navigator”. Finally, you have to copy the files “.projekt and “.cproject” from the existing “Hello World” example project and paste it into your new project.

Navigator_Settings
Now, you can switch back the view to the project explorer and start programming your own project.
Stichworte: control_unit, development_environment, Eclipse
Geschrieben in: Steuerung